The more time we spend living and traveling in our RV, the more we discover the little things that work well—and the things that don’t. Every trip teaches us something new, and over time we’ve made several upgrades to better fit the way we camp.
Our latest challenge? Our refrigerator.
As we traveled through hotter climates this summer, we noticed our RV refrigerator just couldn’t keep up. Even with the temperature turned all the way down, food wasn’t staying as cold as we’d like, and the freezer struggled to keep everything frozen. At first, we assumed it just needed a little help.
Our first attempt at solving the problem was adding extra fans behind the refrigerator to improve airflow. Initially, it seemed to work. The refrigerator cooled better, and we thought we’d found an easy, inexpensive fix.
Unfortunately, that fix created a new problem, and ultimately didn’t fix the problem itself.
The additional airflow occasionally blew out the refrigerator’s propane flame. We didn’t realize it had happened until one travel day when we stopped for fuel. As soon as we opened the trailer door, we were greeted by the propane alarm blaring and the unmistakable smell of propane. It was definitely a scary moment, but thankfully we immediately knew what had happened since the fans were the last thing we’d changed.
After that, we decided it was time to stop treating the symptoms and find a permanent solution.
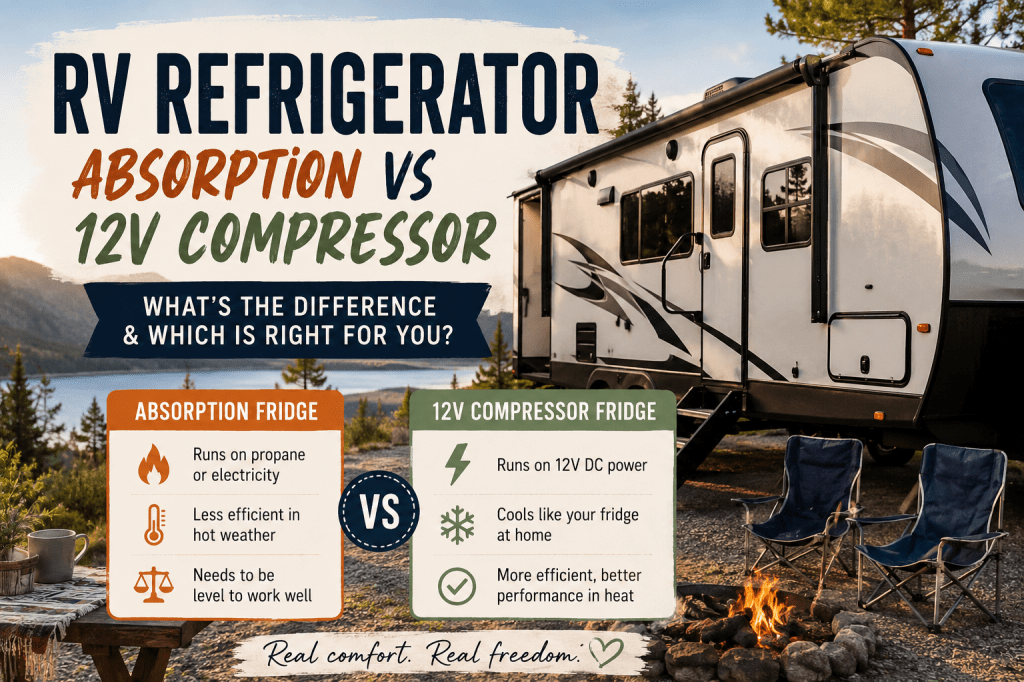
As we researched the issue, we learned that our experience wasn’t unusual. Traditional RV absorption refrigerators are well known for struggling in high temperatures. They cool slowly, lose efficiency as outside temperatures climb, and depend on gravity to circulate refrigerant, which means they also perform best when the RV is relatively level.
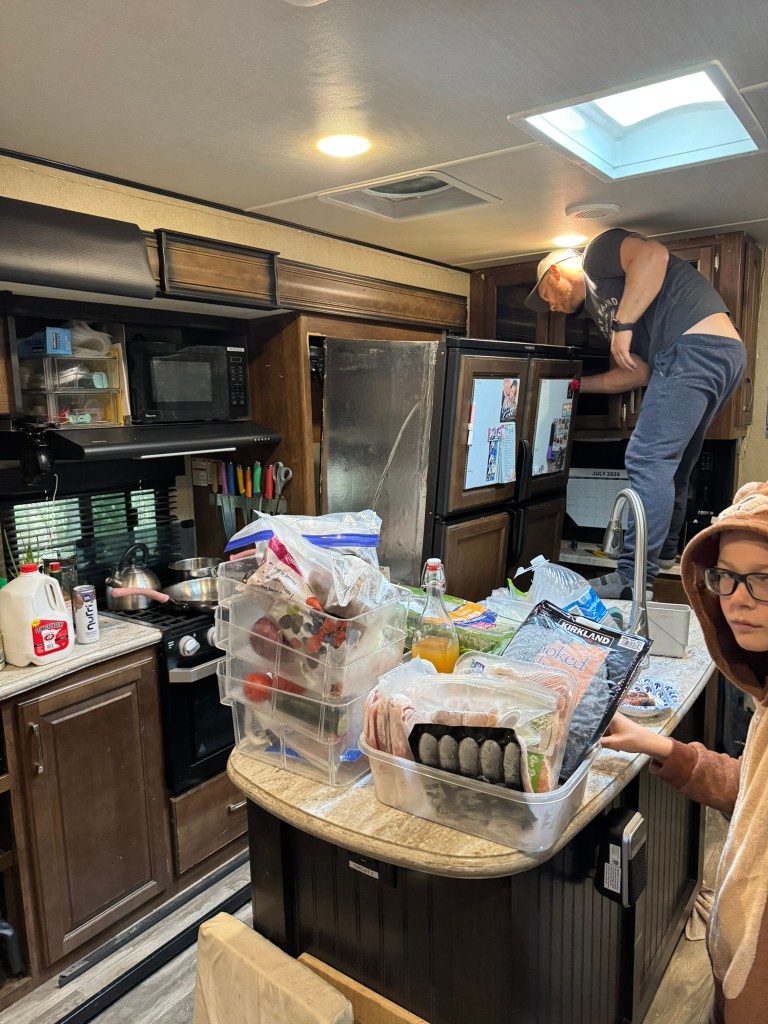
We knew we needed a better solution. So we packed up, drove nine hours across two states, and had our refrigerator converted to a 12V compressor cooling system.
Why We Chose a 12V Compressor Conversion
Let’s nerd out for a moment here. Traditional RV refrigerators use an absorption cooling system, which works very differently than the refrigerator in your home. Instead of using a compressor, an absorption refrigerator relies on heat to circulate a mixture of ammonia, water, and hydrogen through a series of coils (coils that we had replaced on this fridge once already when it was having issues). That heat can come from either propane or electricity, making them a popular choice for RVs. The downside is that the cooling process is relatively slow and becomes much less efficient as outside temperatures rise, which is why they often struggle during hot summer camping trips and when we realized the problem with ours.
A 12V compressor refrigerator, on the other hand, works much like the refrigerator in a residental kitchen. An electric compressor continuously pumps refrigerant through the cooling system, allowing it to cool much faster and maintain a much more consistent temperature, even when it’s hot outside. Because the compressor doesn’t rely on gravity to circulate refrigerant, it isn’t nearly as sensitive to the RV being level. The tradeoff is that instead of running on propane, it runs entirely on your RV’s battery bank. For campers with a solid lithium battery and solar setup, this often isn’t a problem—but it does mean your electrical system needs to be capable of handling the additional power demand.
Upgrading Our Battery Bank and Solar Set Up
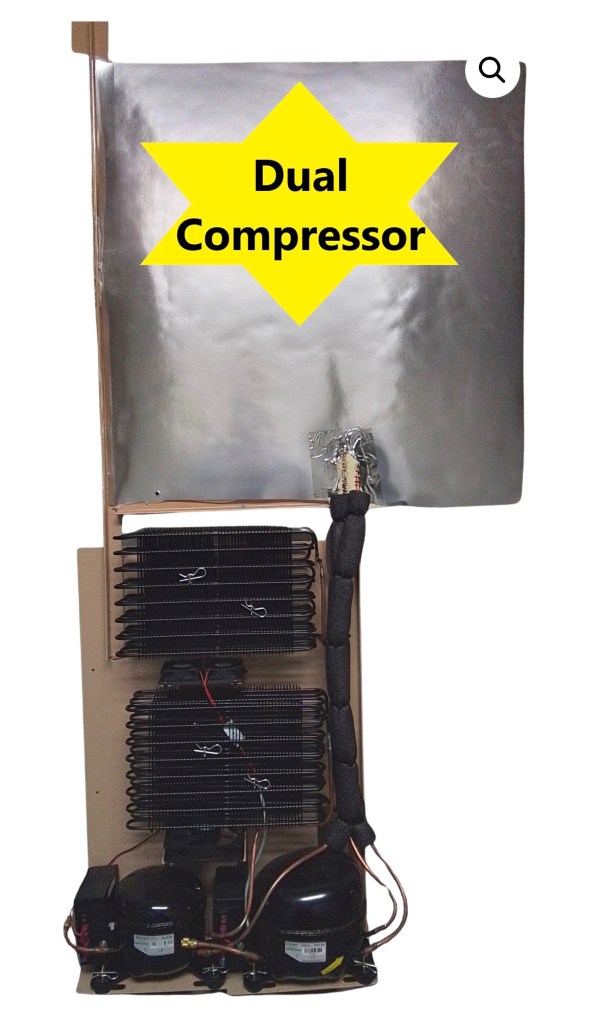
One of the biggest questions we had before making the switch was how much additional strain a 12V compressor refrigerator would put on our electrical system. The Dutch Aire compressor conversion from JC Refrigeration draws approximately 3–4 amps while running, but since the compressor cycles on and off, the actual daily usage is much lower than a constant draw. In real-world conditions, we can expect it to use around 40–50 amp-hours per day depending on the outside temperature and how often the refrigerator is opened.
Fortunately, we had already invested in upgrading our RV’s electrical system long before we decided to convert our refrigerator. Since we spend a lot of time boondocking, having a reliable power source was already a top priority.
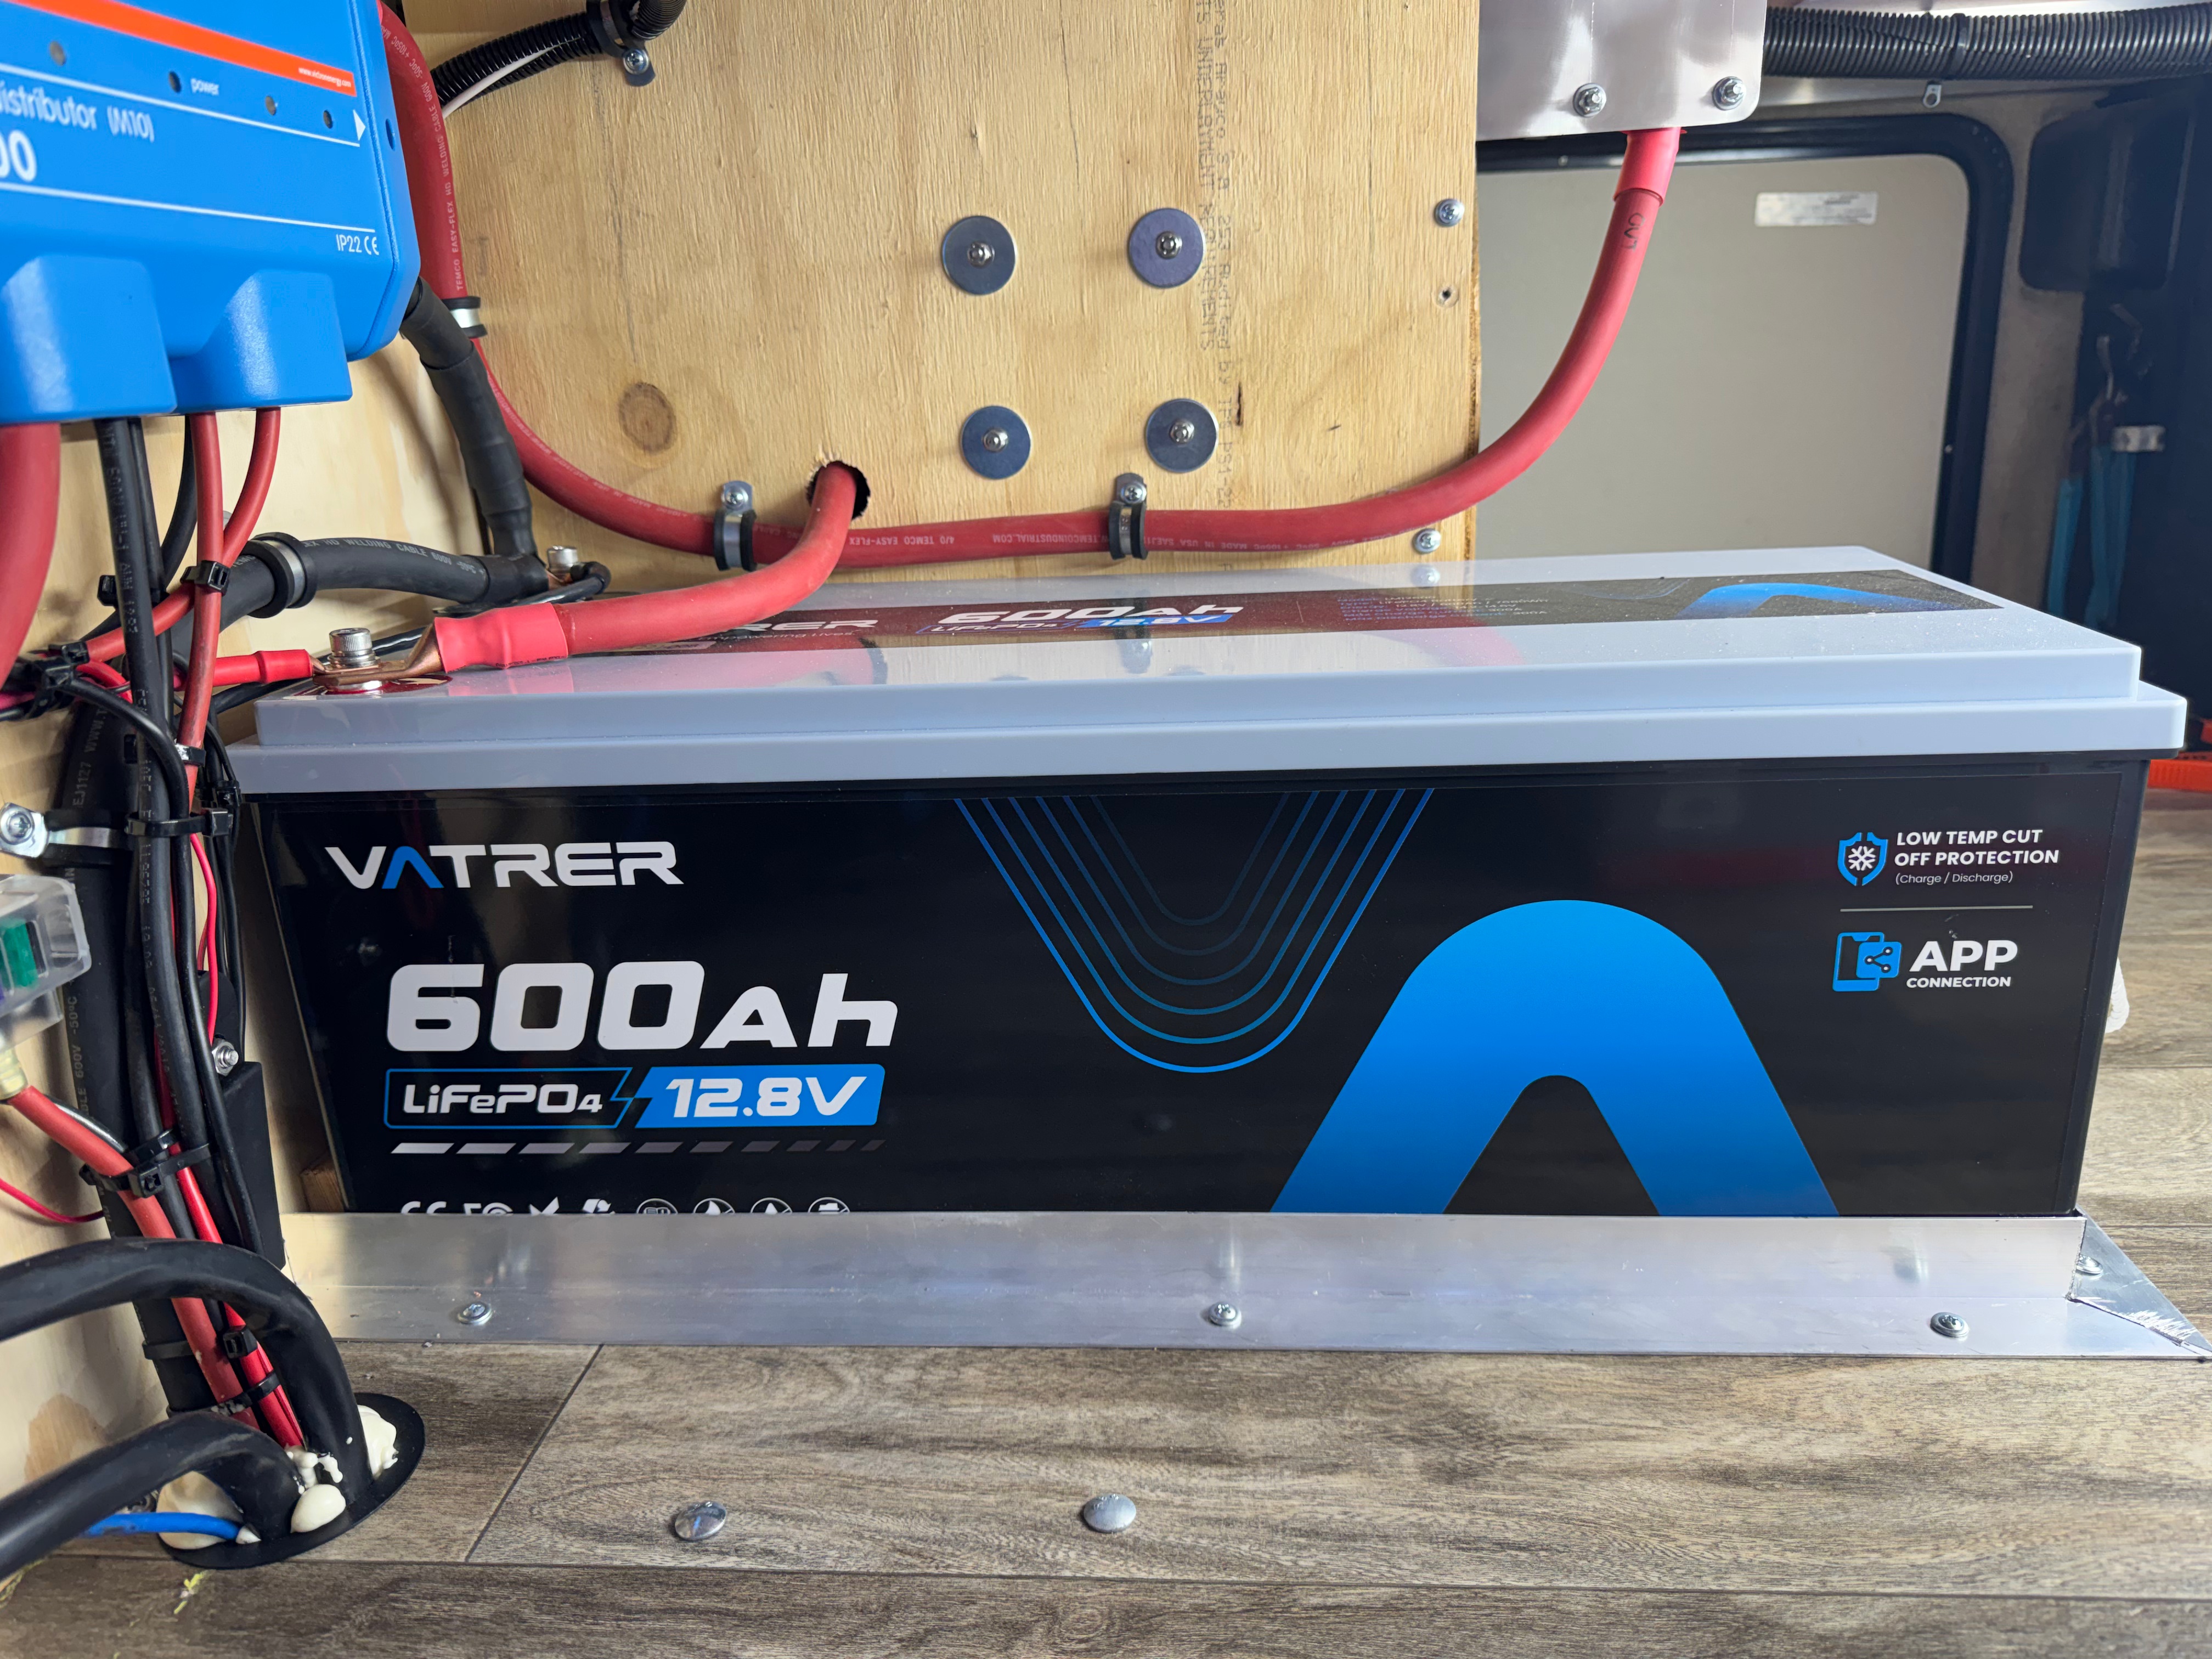
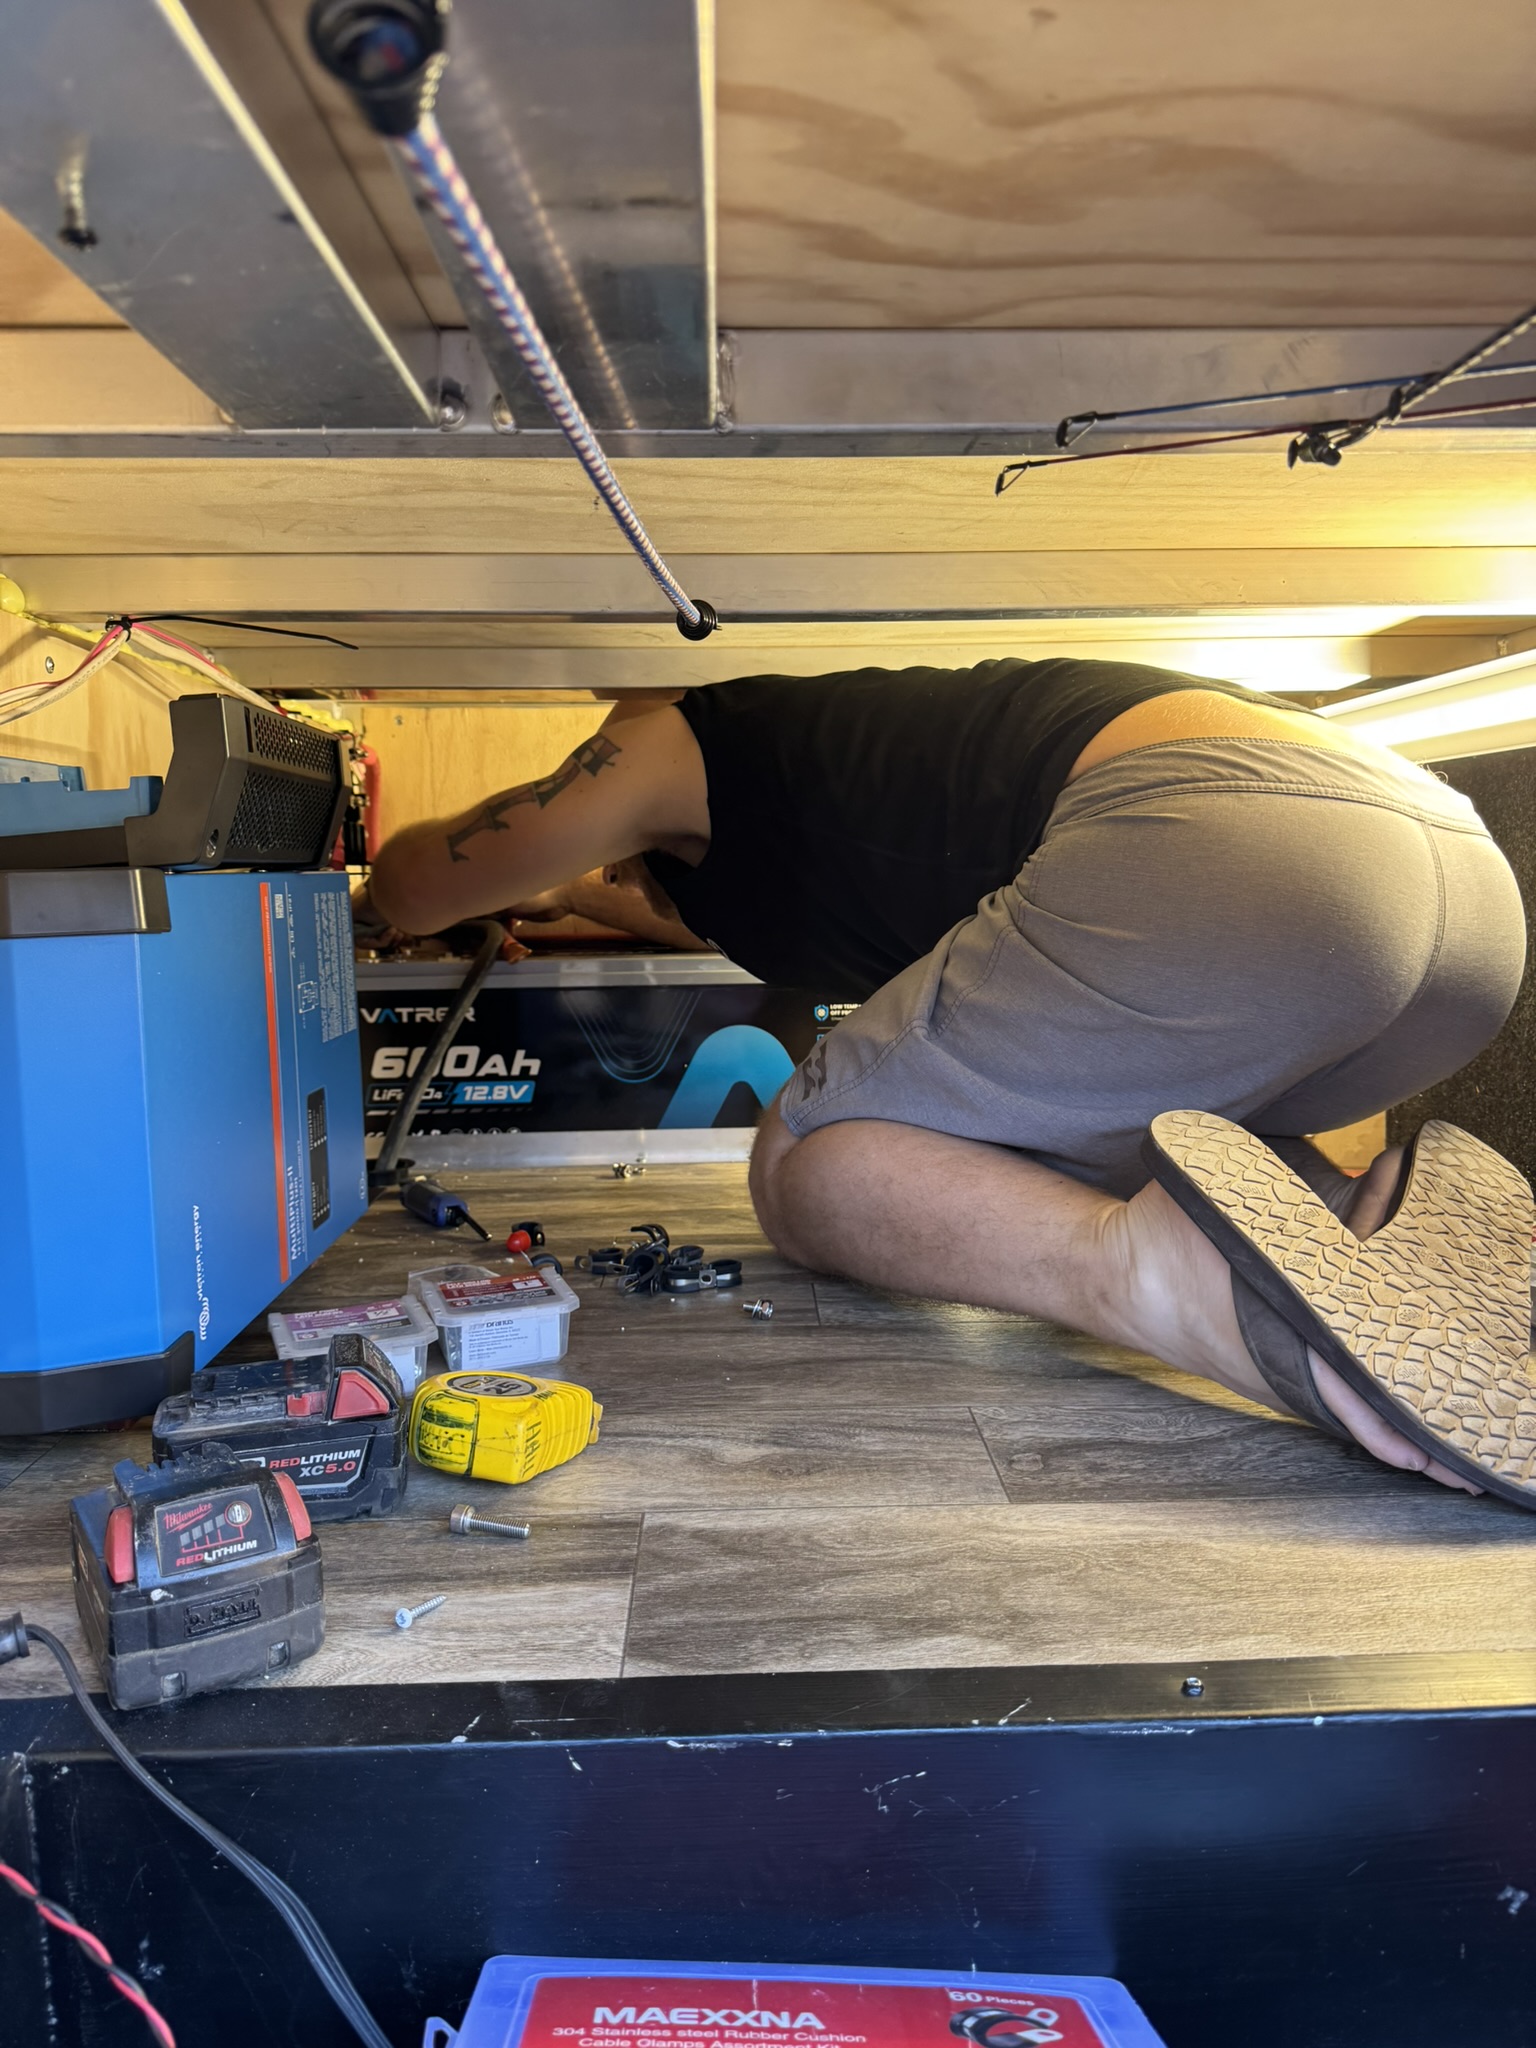
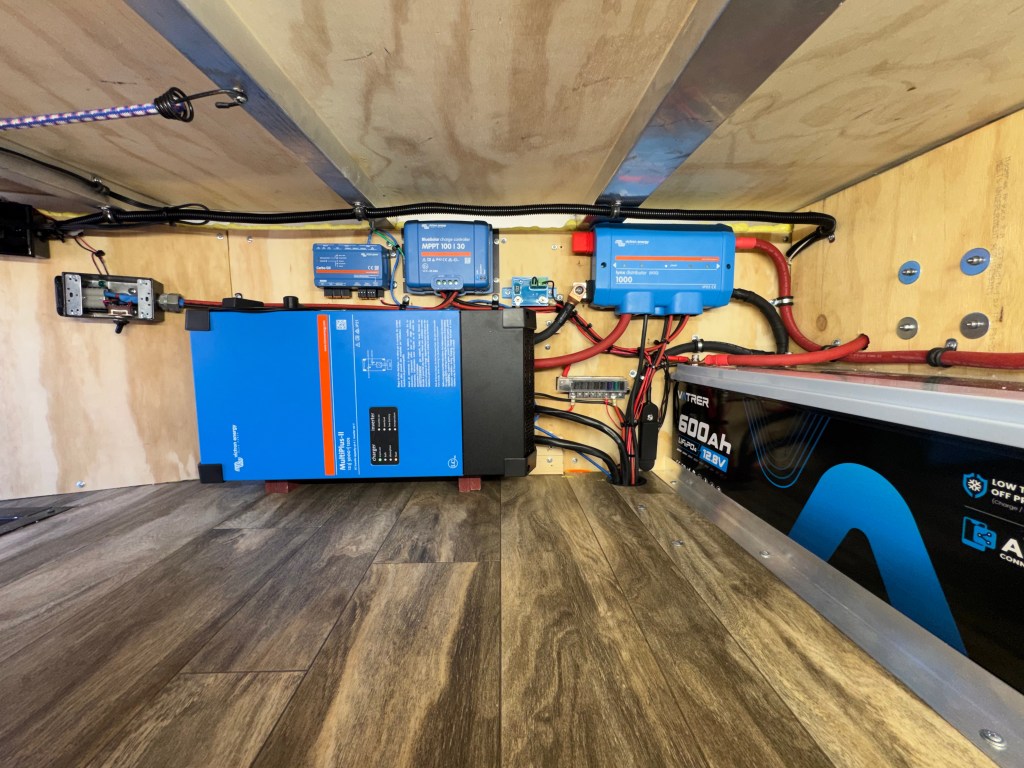
Before we hit the road full-time, we replaced our lead-acid batteries with the Vatrer 600Ah lithium battery system. We wanted enough capacity to comfortably power our everyday essentials without constantly worrying about our battery levels, and it’s been one of the best upgrades we’ve made.
We also installed a Victron inverter/charger, which wasn’t required for the refrigerator conversion itself but has completely changed the way we use our RV. Being able to power household outlets, charge devices, and run appliances without a generator or shore power has made everyday life on the road much more convenient.
To keep everything charged, we have 400 watts of solar mounted on the trailer along with another 800 watts on our truck. On sunny days, the system does an excellent job replenishing the batteries, allowing us to stay off-grid for extended periods without much concern.
And for those stretches of cloudy weather, we carry a Honda EU3200 generator as a backup. It’s one of those pieces of equipment that you hope never to use, but it’s reassuring to know it’s there if Mother Nature doesn’t cooperate.
Because we had already built a robust electrical system, switching from a propane-powered absorption refrigerator to a 12V compressor refrigerator was a surprisingly easy transition. With our 600Ah lithium battery bank, 400 watts of trailer solar, and an additional 800 watts of solar on our truck, this has been a very manageable addition to our power needs. Instead of worrying about whether our refrigerator can keep up when temperatures climb, we now have a system that works reliably while still allowing us to enjoy the freedom of boondocking.
The Installation Process
Once we realized we needed to make the switch, Dustin started researching how and where we could convert our refrigerator from an absorption system to a 12V compressor system. What he quickly discovered was that, for our specific refrigerator model, there was only one manufacturer making the replacement 12V coil—and they were located in Shipshewana, Indiana.
The manufacturer, JC Refrigeration, supplies these parts to RV repair shops all over the country, but going directly to them had some major advantages. We could avoid shipping costs, avoid the hassle of figuring out where to have the part delivered, and skip the wait time involved with shipping. Plus, because they didn’t have to ship the part, their installation cost was only $100. It was an easy decision.
The only catch? Shipshewana was about nine hours away from where we were currently staying in Minnesota.
Since we were already traveling full-time, we decided to adjust our plans and make a little detour. And by “little,” I mean we added two weeks and four additional states to our itinerary just to make this upgrade happen. But, spoiler-alert, it was well worth it!
From the moment we called, the process was surprisingly easy. They had an appointment available just one week later—although it came with a very early 5:30 a.m. drop-off time.
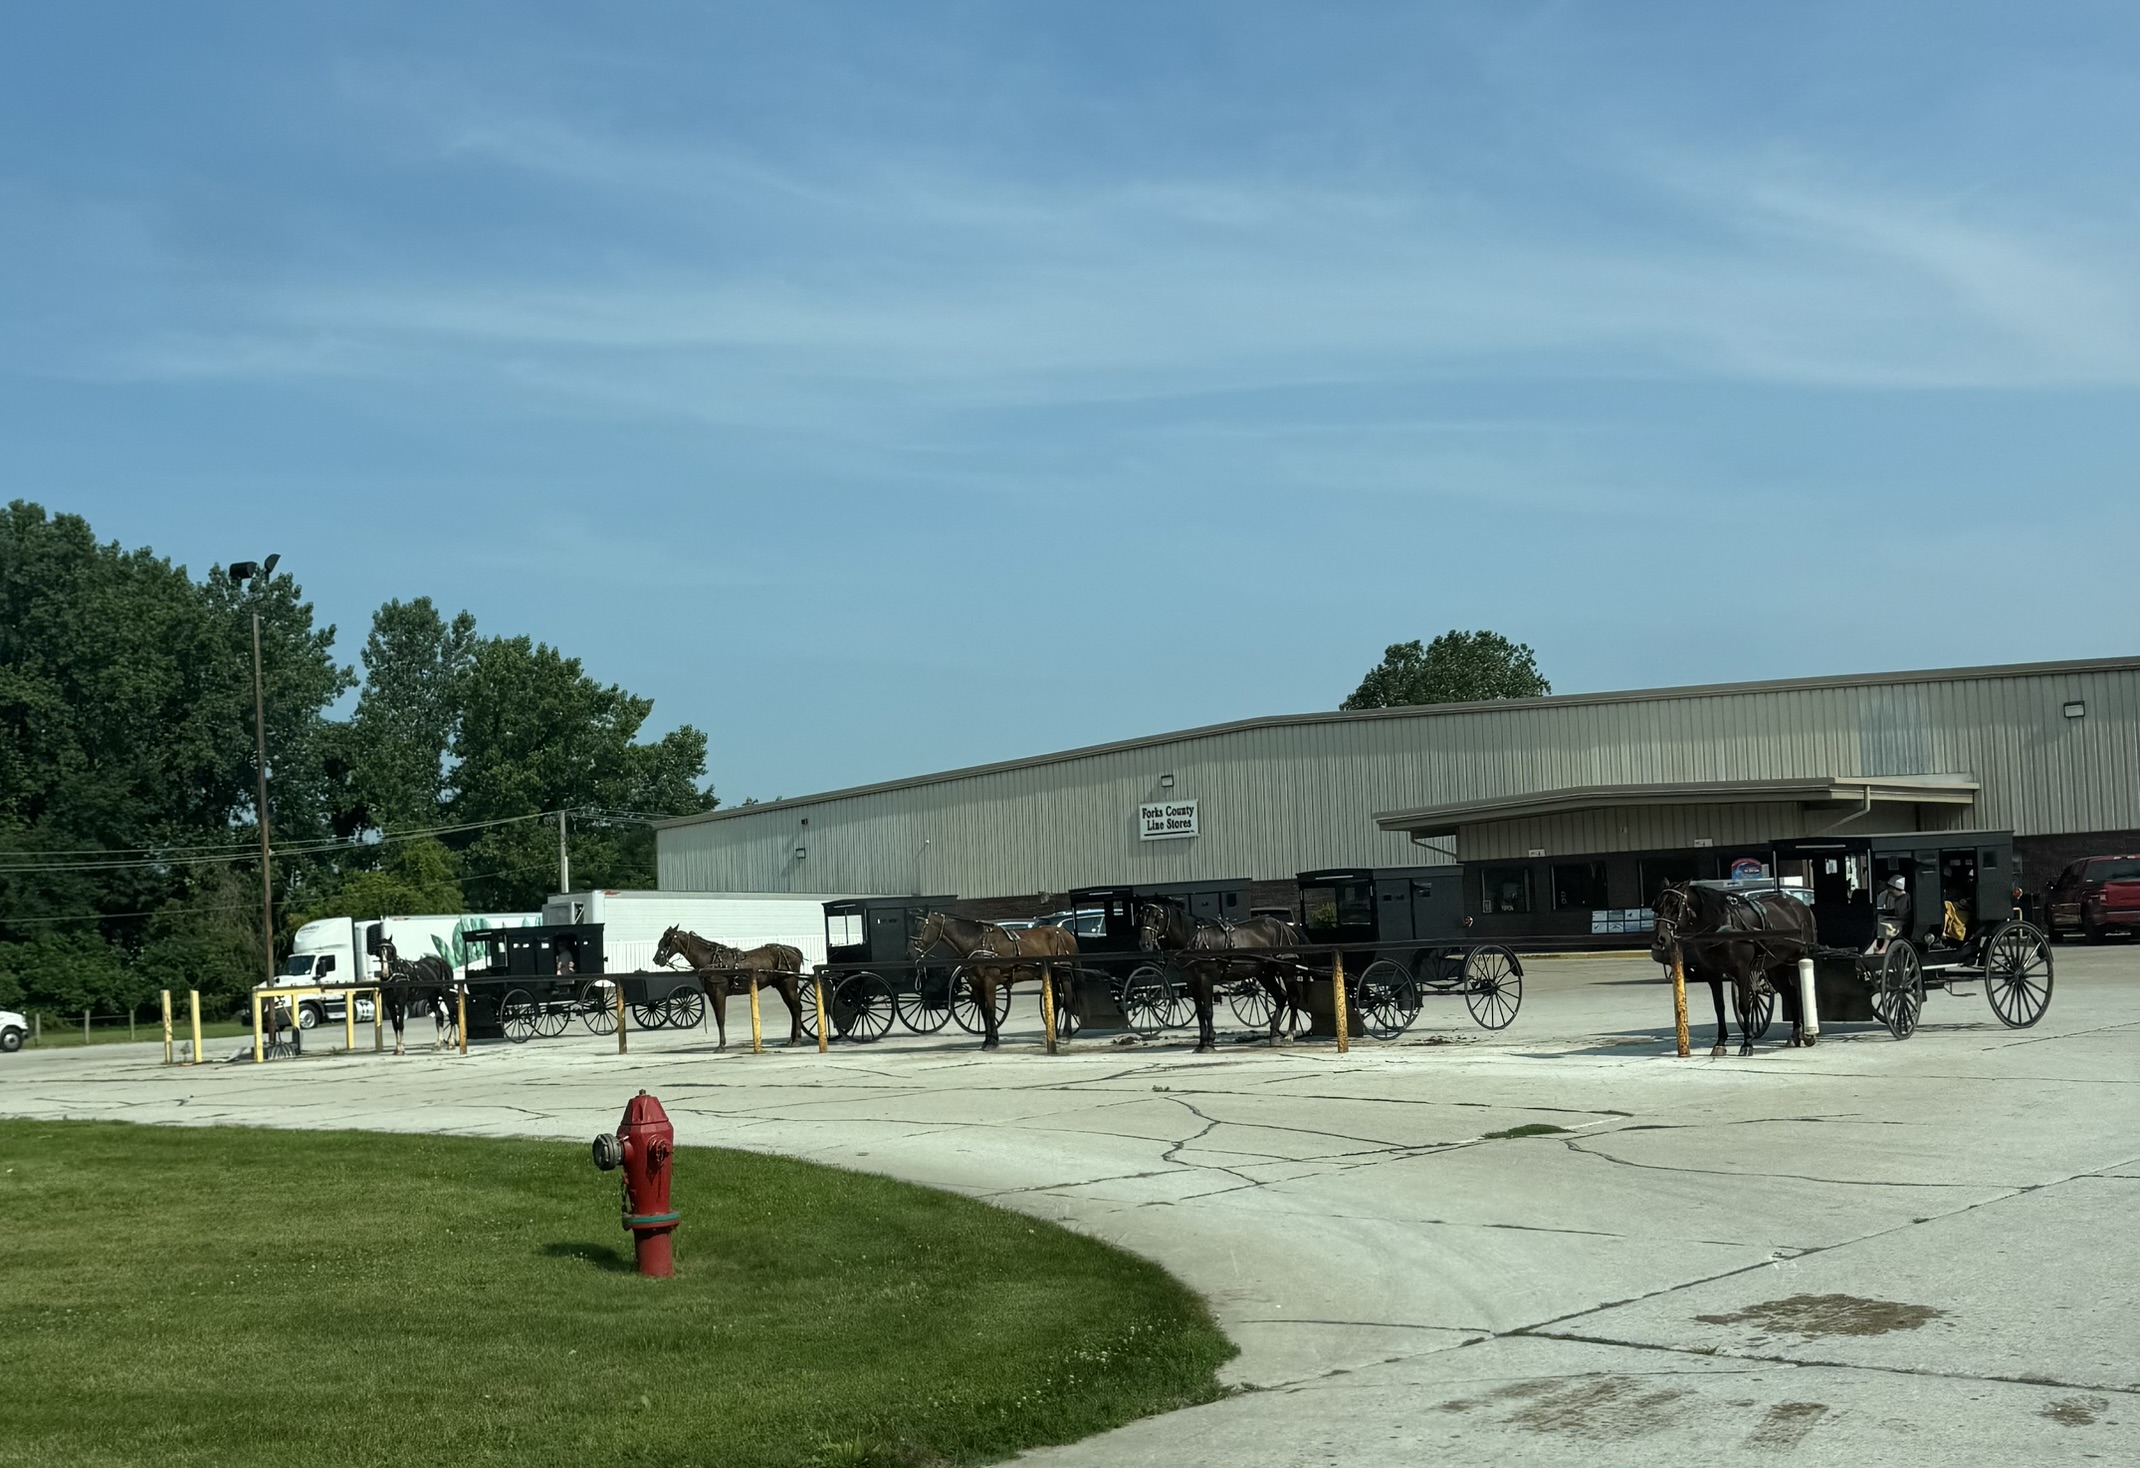
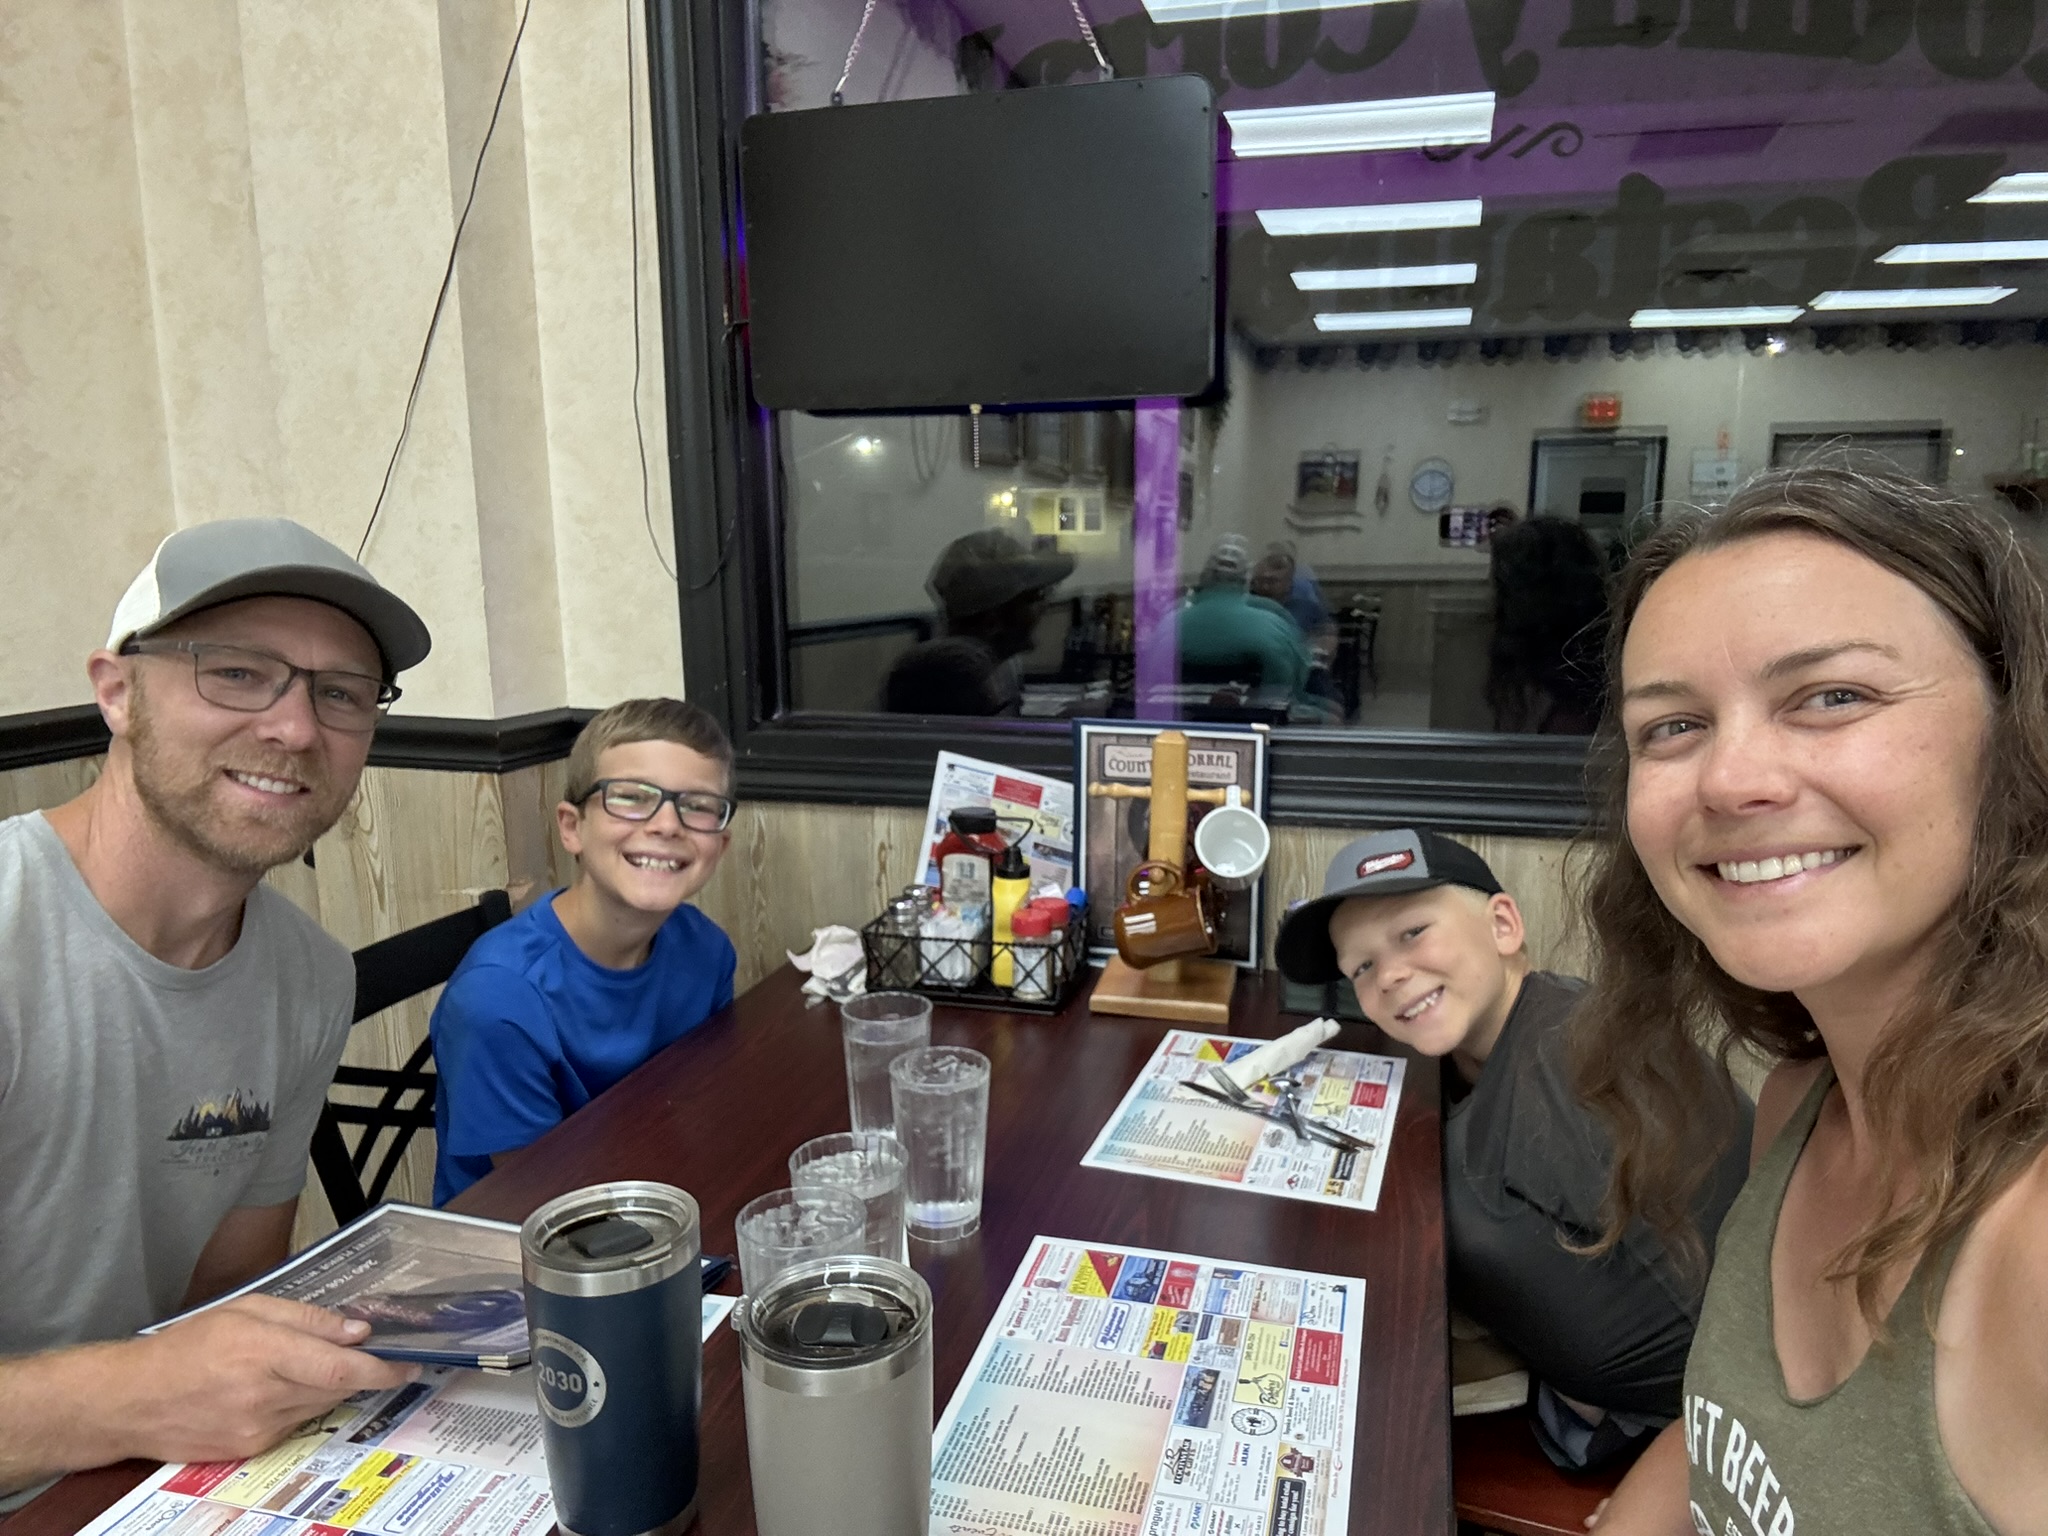
That morning definitely came with an early alarm, but the whole process was incredibly smooth. We dropped off our rig at Adventure RV Repair Shop at 5:30 a.m., then headed out for breakfast and spent the morning exploring Shipshewana. The town itself was a fun surprise, with a unique small-town feel and a large Amish community that made it unlike anywhere else we had visited. We wandered through the area, passing handmade shops, seeing horse-drawn carriages traveling down the roads, and getting a glimpse into a much slower-paced way of life.
By 9 a.m., we were already back at the shop picking up our trailer. The new system had the refrigerator cooled back down to temperature within just two hours of installation, and we were back on the road headed toward our next destination.


Was it worth it?
Just the fact that our fridge was already cooled down to temperature within two hours of installation had us jumping for joy. After weeks of watching temperatures fluctuate, tracking readings, and throwing away food that had gone bad, it felt like such a relief to finally have a refrigerator we could trust.
We had gotten to the point where we would go to bed at night hoping the cooler nighttime temperatures would help it recover, only to wake up and see that it had only dropped a few degrees over the course of 10 hours. I stopped buying ice cream and popsicles because I knew our freezer simply couldn’t keep them frozen.
Now, with the internal temperature controller, we can see exactly what temperature our freezer and refrigerator are running at. More importantly, we can feel the difference. The fridge is cold, the freezer stays frozen, and we no longer have that constant worry about whether our food is safe.
Looking back, this upgrade was absolutely worth the cost, worth the extra miles, and worth the time it took to make it happen. Plus, we added four new states to our USA sticker map along the way—and we can buy ice cream again, so the kids are pretty happy about this upgrade too.
Our RV Refrigerator & Electrical Setup
If you’re planning a similar upgrade, here’s the equipment we’re using. These are the products that have worked well for us. Some of these links are affiliate links where I make a small commission with your purchase at no extra cost to you.
Refrigerator
Battery & Power
- Vatrer 600Ah Lithium Battery System
- Victron MultiPlus II Inverter/Charger
- Victron Cerbo GX
- Victron Energy Control Panel
- Related Components from Amazon


Leave a Reply